Keck Computational Science Center
How to Connect to your CloudStack Instance
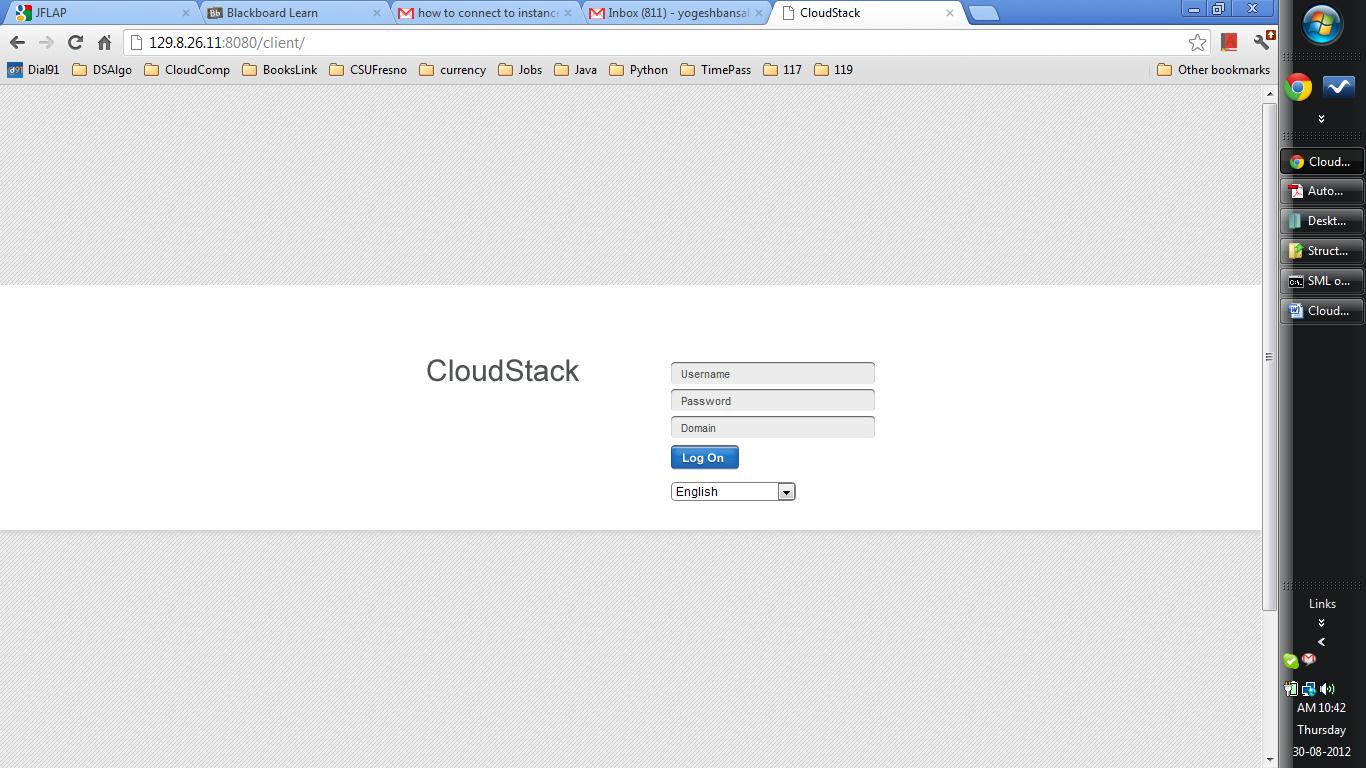
1. Enter this Url : http://129.8.26.11:8080/client/ in your web browser.
2. The screen shown below will appear in the web browser.
3. Then enter your login credentials. If your account belongs to a specific domain,
then you may also need to enter the domain in order to login.
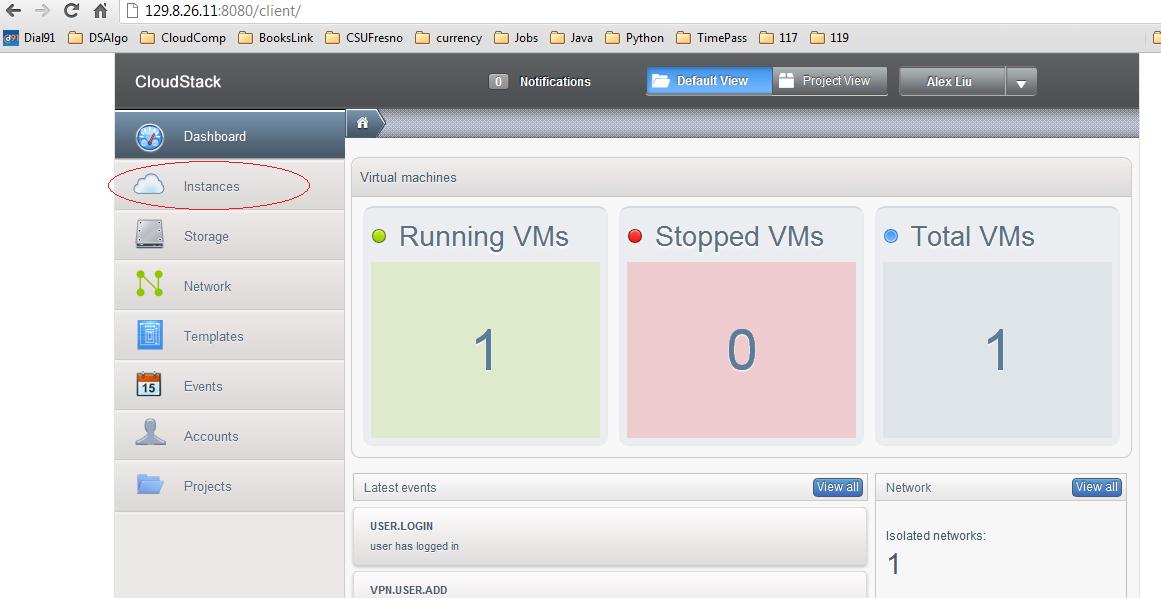
4. After successfully logging in, the screen shown below will appear. Here you can
see your account details, create projects, instances, etc.
To see the running VM's or to add new instances, click on the Instances in the left
pane (circled in red below).
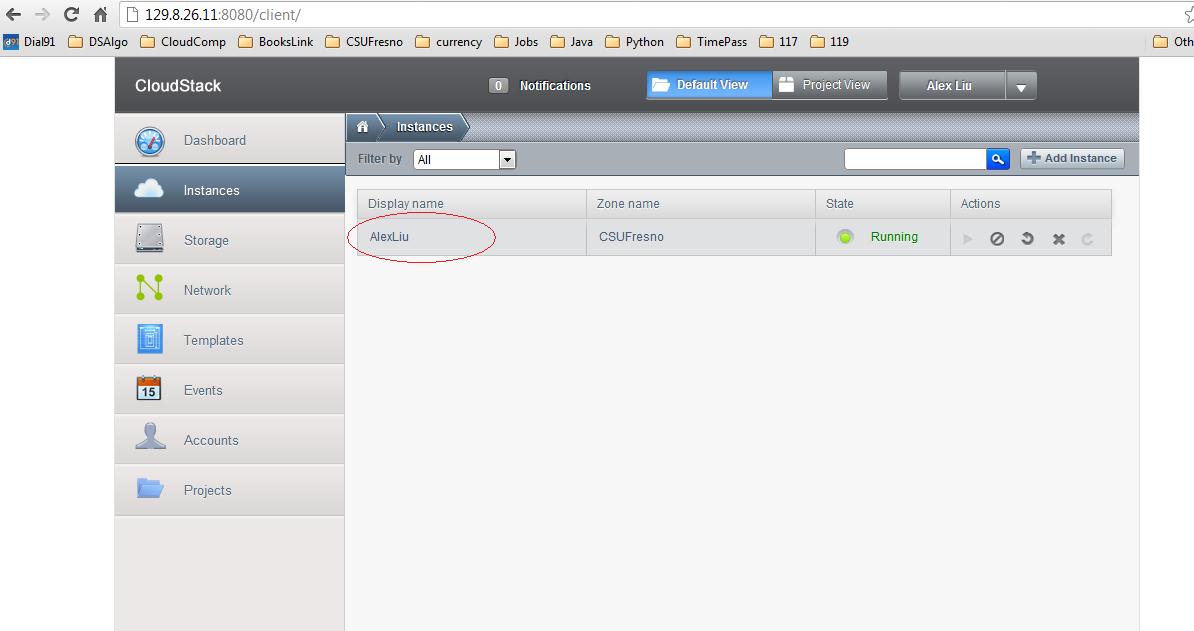
5. After clicking on the instances, the screen shown below will appear, which will
show you the currently running instances in your account. You can also create new
instances by clicking on the add instances button in the top right corner.
6. To go to the VNC console of a particular VM instance, click on the display name
on that instance (circled in red below).
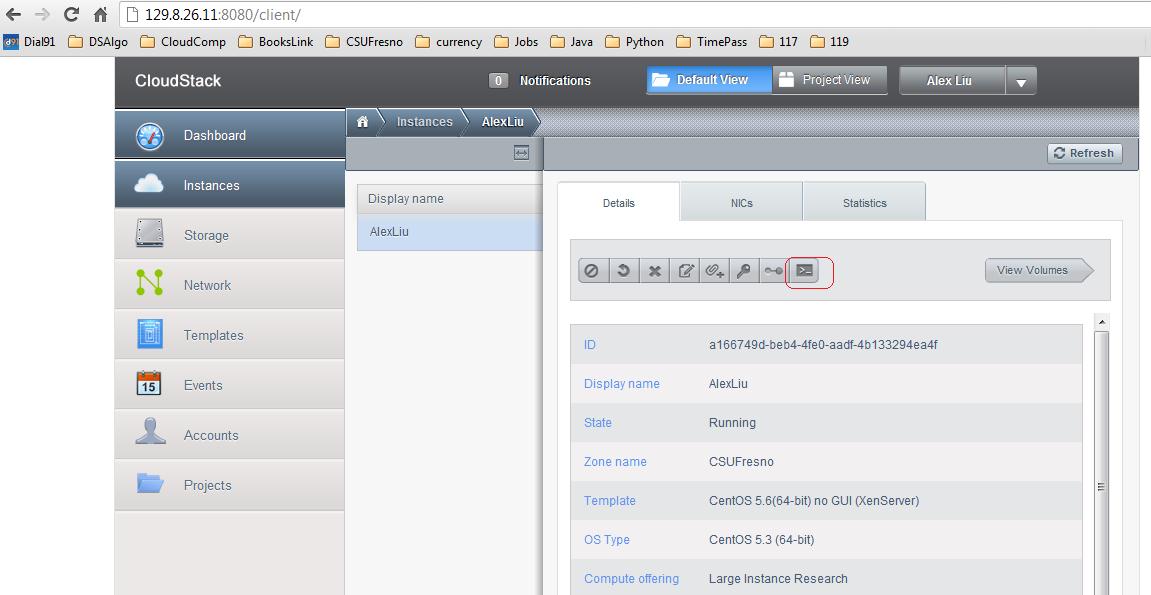
7. After clicking the display name of the VM instance, the screen shown below will
appear. To start the VNC console of the VM, click on the VNC console button (shown
in the red rectangular box below).
By hovering the mouse over the buttons shown in the above screen, you can see the
functionality of each button.
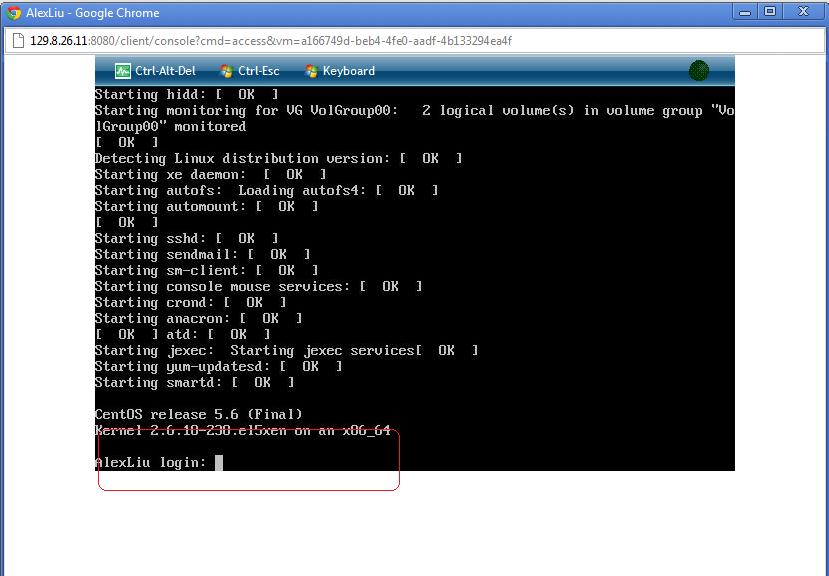
8. After clicking the VNC console button, the VNC console of the VM will start. Wait
until the login prompt comes up, as shown in the screen below.
9. For this VM, the login name is "root" and the password is "password". The login
name or password can be different for each different type of VM. But for same type
of VM instances, the login name and password will be the same. For example, if we
create a new instance of this VM instance, the login name and password will remain
the same.
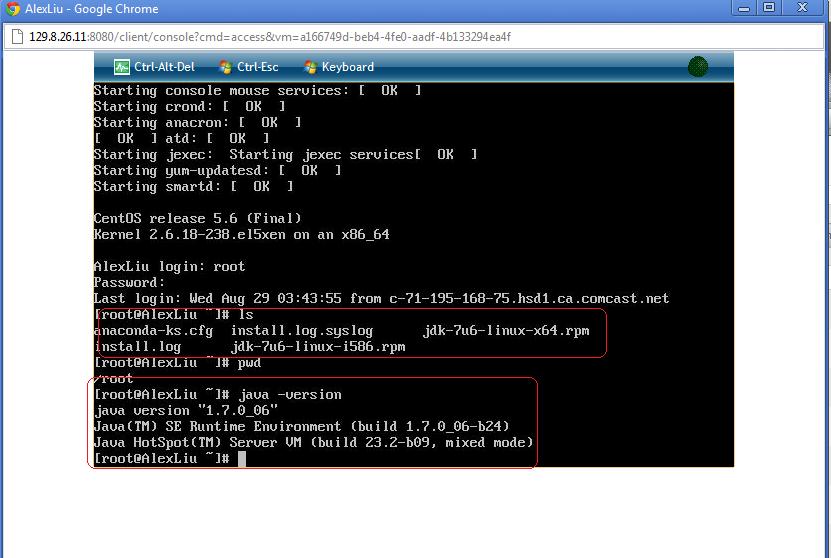
10. After successfully logging in to the virtual machine, the VM is ready to use for
your work. The screen below shows the output of a few basic linux commands.
